

The Node.js selector allows you to easily set up Node.js applications with the cPanel graphical interface.
Some Definitions:
You should change these values to match the values required for your account and application.
-
app: is used as an example for the application root directory and application uri
-
example: is used as example for the username
-
example.com is to illustrate the domain
-
app.js is used as example for the application startup file
-
My app will be used as the description
-
10 or 11 are the node.js versions
Setting up the NodeJs app:
To set up a Node.js application using cPanel, follow the steps below.
Step 1 - Create the application:
- First, you need to login to cPanel.
For help in accessing cPanel, click on this Link
- In the SOFTWARE section of cPanel, click the Setup Node.js App icon to open the Node.js selector:
- On the Node.js selector page, click CREATE APPLICATION to start the application setup:

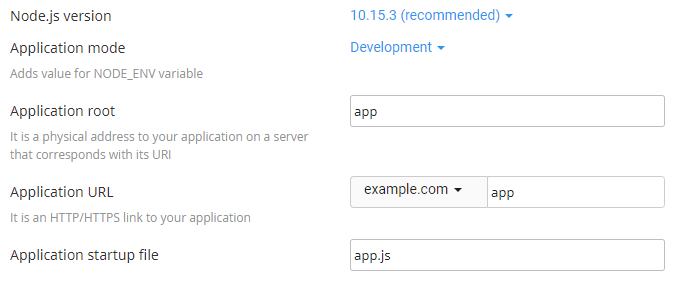
- Fill in the fields on the application setup form:
-
Node.js version: select your preferred version from the drop down list
-
Application mode: choose Development or Production from the list. Development may be chosen initially and changed to production later.
-
Application root: the file system location for application files. The entry will be appended to /home/username to form the complete path to the application files in the cPanel home directory.
Typical locations for the application root are /home/username/appname or /home/username/apps/appname. Do not put the application root inside the domain document root.
- Application URL: the address of the application to be accessible from the Internet.
When you define routes in your application code, you must include the application URL in the route.
- Application startup file: the initial file that will be processed when launching the application.
- When you're happy with your settings. click on CREATE:

- The app should start automatically if you setup everything correctly. Click on OPEN to view the test page.
Step 2 - Create the package.json file:
Follow these steps to create the package.json file:
1.from cPanel open the File Manager:
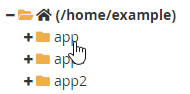
- From the directory tree on the left, find and click on the application root folder (you should have already specified this in the steps above):
- Find and click
+Fileicon to create a new file:

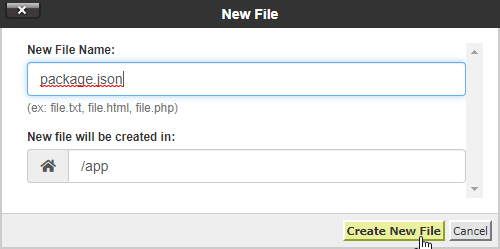
- In the New Filedialog box, type the filename
package.json, and then click Create New File:
- Right-click or secondary click on the
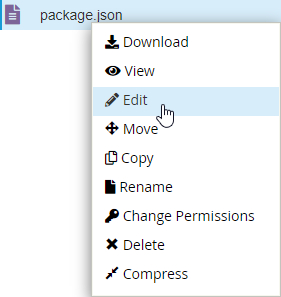
package.jsonfile in the right-hand column of File Manager and then click Edit. An edit dialog box may appear (click OK to proceed to the Editor):
- In the Editor screen, you should have something like the example below in the
package.jsonfile (modify according to your app):
{"name": "app","version": "1.0.0","description": "My App","main": "app.js","scripts": {"test": "echo \"Error: no test specified\" && exit 1"},"author": "John Doe","license": "MIT"}
- Click Save Changes to save the file:

- Click Close to close the editor.
Step 3 - Installing npm:
- In the SOFTWARE section of cPanel, click on the Setup Node.js App icon to open the Node.js selector:
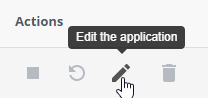
- In the Actions column of the Web Applications list, click the pencil icon to edit the application:
- Click Run NPM Install:

- The NPM installation runs and displays a success indicator if you have everything setup correctly:
