1. Log into your SiteWorx account. (e.g. www.example.com:2443/siteworx/ )
2. Under "SiteWorx Menu", click the "Hosting Features" menu item if it is not already open.
3. Click on the "Softaculous" option.
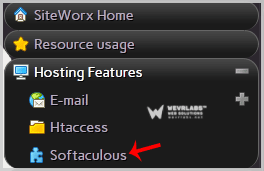
4. SiteWorx will open a Softaculous Interface.
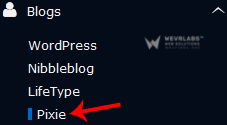
**5. ** On the left side of your screen you should locate the "Blogs" category. Click on it and then click on the "Pixie" link that will appear.
**6. **Click on the "Install" button.
**7. **Fill the necessary field under the "Software Setup" field: **Choose Protocol: You can leave this as it is. Choose Domain: **If you don't have multiple domains, leave this as it is. **In Directory: **If you want to install this in a directory, for example example.com/directory, enter the directory name. Otherwise, leave this blank to install in your main domain example.com
**8. **Under the "Site Settings" field:
**Site Name: **Enter the name of your website, such as "my first website".
Site Description: Site Description
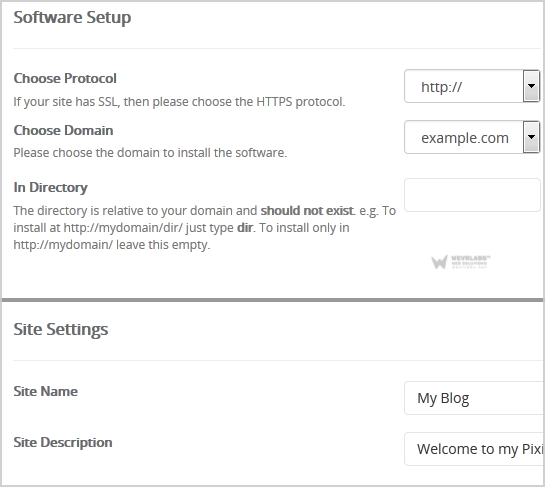
**9. **Under the "Admin Account" field enter the following information:
Admin Username: Your new Pixie username (for security reason do not use the "Administrator" or the "Admin" username.)
Admin Password: Use a strong password.
**Real Name: **Leave this as it is or enter your real name.
Admin Email: Your e-mail address.
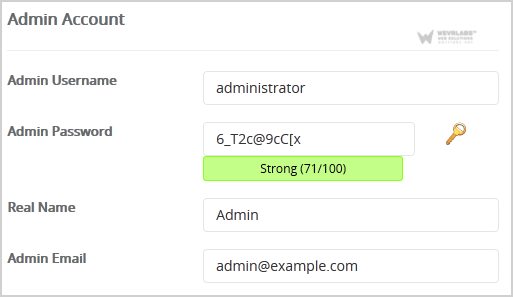
Note: Copy the admin username and password on a notepad because you will need these login details to access the admin area of your Pixie blog.
10. **Advanced Options: **Leave this as it is, unless you want to change the database name or take an automated backup. Please note that taking frequent backups may take a lot of disk space.
Finally, scroll down to the end of page and click on the Install Button.